Follow these steps to get set up with advanced markers.
Get an API key and enable the Maps JavaScript API
Before using advanced markers, you need a Cloud project with a billing account, and the Maps JavaScript API enabled. To learn more, seeSet up your Google Cloud project.
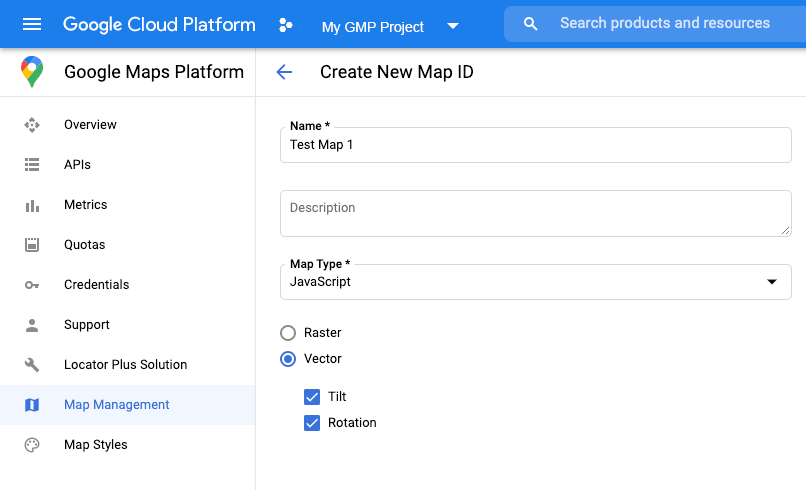
Create a map ID
To create a newmap ID,follow the steps in Cloud customization. Set the Map type toJavaScript,and select either theVectoror Rasteroption.
Update your map initialization code
This requires the map ID you just created. It can be found on yourMaps Managementpage.
Load the advanced markers library from within an
asyncfunction when needed:const { AdvancedMarkerElement } = await google.maps.importLibrary( "marker" ) as google.maps.MarkerLibrary;Provide a map ID when you instantiate the map using the
mapIdproperty. This can be a map ID that you provide, orDEMO_MAP_ID.const map = new google.maps.Map(document.getElementById('map'), { center: {lat: -34.397, lng: 150.644}, zoom: 8, mapId: 'YOUR_MAP_ID' });
Check map capabilities (optional)
Advanced markers requires a map ID. If the map ID is missing,
advanced markers cannot load. As a troubleshooting step,
you can add amapcapabilities_changedlistener to subscribe to map capability
changes. Using Map Capabilities is optional, and recommended only for testing
and troubleshooting purposes, or for runtime fallback purposes.
// Optional: subscribe to map capability changes.
map.addListener('mapcapabilities_changed', () => {
const mapCapabilities = map.getMapCapabilities();

if (!mapCapabilities.isAdvancedMarkersAvailable) {
// Advanced markers are *not* available, add a fallback.
}
});